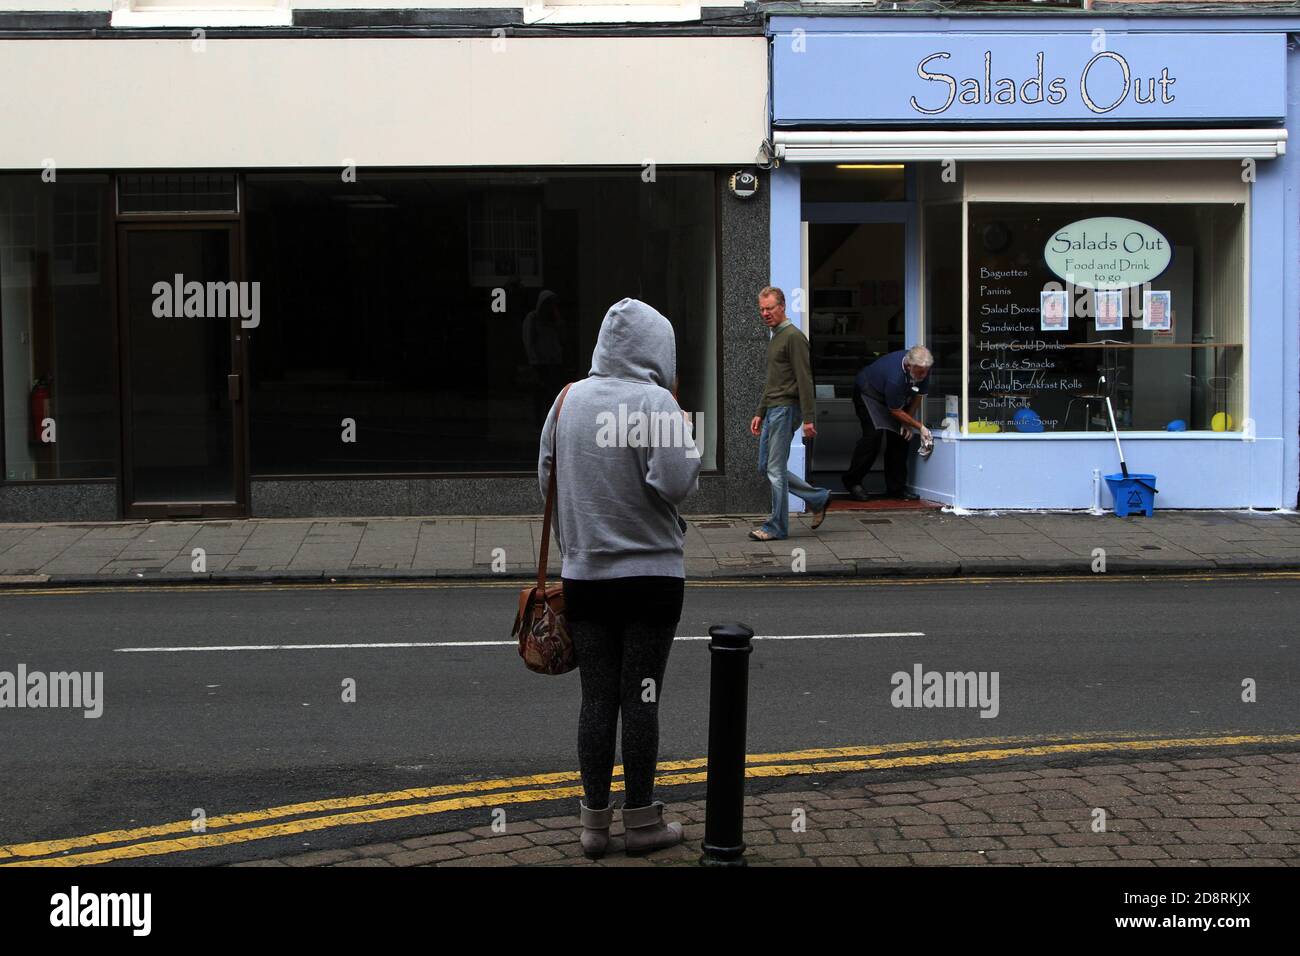
The use of frames in photography can give a picture depth and context. Framing can help the viewer focus their attention on the main point of the image. You can use framing for street, documentary, or artistic photography.
You can create frames in your photography by using the following techniques. First, use a natural framing technique. Natural frames can be made from leaves, flowers, or even man-made objects. A natural frame is a good way to start with composition. If you are passionate about photography, it can also be rewarding.
An architectural frame, on the other hand, is another type. An architectural frame can include windows, bridges and archways. Using architectural frames can also add extra depth and texture to your photo. Although a window can be considered a frame, the main subject of your photo could be the building or person in the doorway. This type of framing is also useful to create a sense claustrophobia.

You can also use framing to create leading lines. Leading lines lead the viewer's eye to the focal point. This technique is best used if your main subject is not in the middle of your photo. Your foreground elements should also surround your main subject as much as possible. The viewer will naturally move around the frame until they reach the focal point.
Another method of framing is to place a frame within another frame. This type of framing can be used to create narrative elements in a photo. This type of framing allows you to cut off key compositional elements while still highlighting the main subject of your photo. To give your photograph more dimension and depth, you can also create a frame within the frame. This is a common technique used by professional photographers.
There are many types of frames for photography. These include picture frames and windows as well as archways, tunnels, and archways. You can also shoot through doorways, overhanging branches, and other natural or man-made structures. These techniques can be very helpful and help bring your shots to life. You don't always need perfect framing around your subject.
You should consider the composition of your photo before you begin to take photos. Look around your home and garden to see if there are any other framing options. Find gaps in walls, arches, or mirrors that can be used as frames. This will allow you to get the best out of your photography. It is essential to train your eyes to spot potential opportunities.
Frame interesting places or objects you see while on vacation. A window or archway is a great way to capture your vacation photos. For an additional dimension, you could even add a fence. This is a popular technique among architects and photographers.
FAQ
What is the best camera for beginners?
Your budget, your needs, and your skill level will determine which camera is best for beginners.
If you are looking to save money, then a point and shoot digital camera might be the best option. These cameras aren't as versatile as they look, but they provide good quality.
A DSLR (Digital Single Lens Reflex) camera has interchangeable lenses that let you shoot different types of shots. These lenses are usually more expensive than point-and shoots, but offer greater flexibility.
A beginner's package is a great way to get started in photography. Everything you will need, including a tripod, flash, memory cards and lens, can be found in one package.
You should also remember to buy additional batteries.
Do I Need A Tripod?
This is one of those questions that everyone asks. The truth is that a tripod isn't always necessary, but it can come in handy.
A tripod allows you to stabilize your camera when taking photos at slow shutter speeds. A tripod is a great option for landscapes and other stationary subjects.
On the other hand, if you're photographing moving subjects such as sports or people, using a tripod can cause blurriness. What are the best ways to determine which situations you need a tripod for?
A tripod is useful in situations where you want to take pictures of fast action and stationary subjects. Examples include:
-
Sports
-
People
-
Landscapes
-
Close-ups
-
Macro shots
If you're unsure whether you need a tripod, try this test. You can hold your camera still while you look through the lens. A tripod is necessary if you notice blurred lines or movement.
If you don't see any blurring, you probably won't notice any improvement by adding a tripod.
These are just a few tips to help you decide whether or not to purchase a tripod.
-
Make sure your tripod has smooth legs. This will stop unwanted vibrations shaking your camera.
-
Use a sturdy tripod. Some tripods are made out of plastic and may not be very durable. Consider a tripod made of metal.
-
Consider purchasing a remote release. Remote control allows you to remotely control your camera. The button can be pressed to activate the shutter.
-
Make sure to look for a tripod that rotates 360 degrees. It makes it easy to position your camera horizontally or vertically.
-
Remember that tripods can be expensive. Expect to pay between $100-200. But, you will get a lot for your buck.
-
Don't forget about accessories like filters and memory cards.
-
Before shopping online, be sure to visit your local shop. Many retailers offer free shipping.
-
You can read customer reviews to see what people think of a product.
-
Ask family members or friends to share similar products.
-
Forums and message boards are a great place to find out about customer experiences.
-
Search online for user reviews.
-
Amazon.com allows you to compare prices, and receive customer feedback.
-
Take a look at these photo galleries to see what other photographers do with tripods.
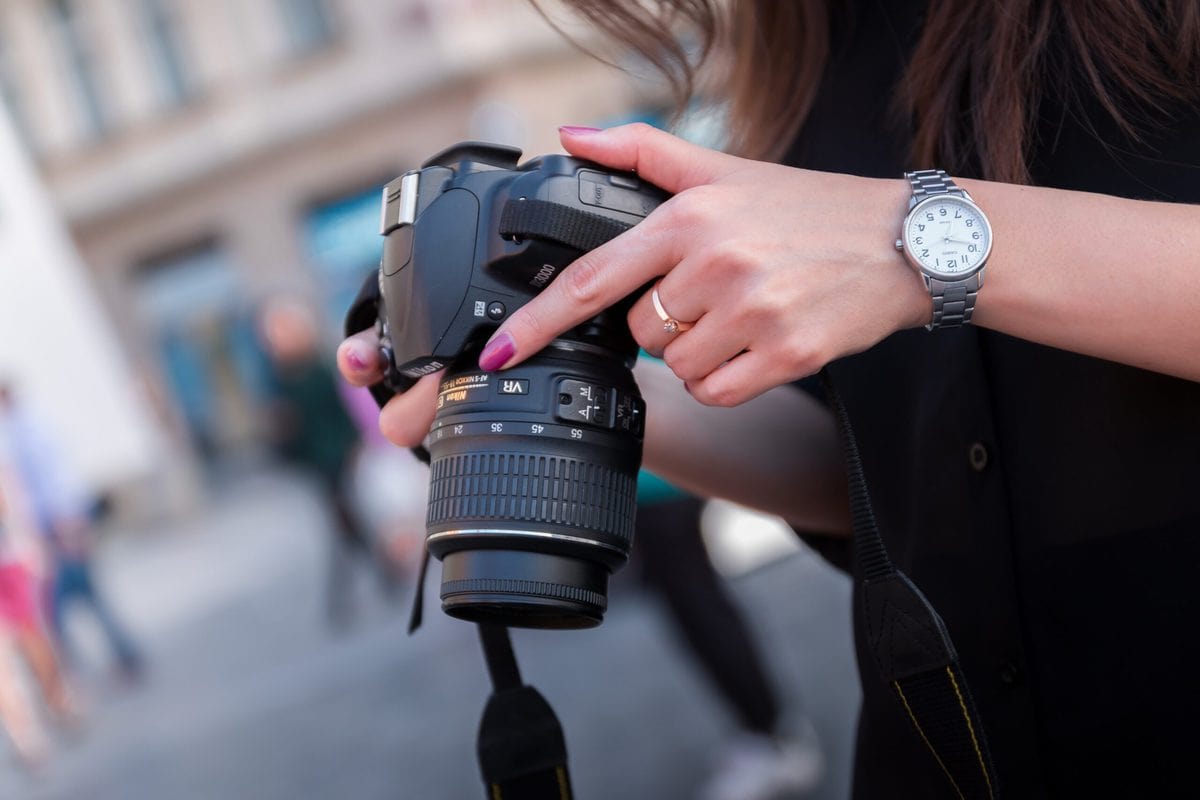
How can my phone improve my photo skills?
Great photos don't require expensive equipment! Amazing photos can be taken with your smartphone.
It is easy to learn how to use its various features and some basic techniques.
There are many apps for iOS and Android devices that can edit and share pictures.
If you want to start taking better photos, here are five tips to help you get started.
-
Set Up Your Camera App. Your camera app should already be installed on your device. If your camera app isn't installed on your device, download it from Google Play.
-
Use filters and effects. Filters and effects can be used to modify the appearance of your photograph without touching your image.
-
Adjust Exposure. Adjusting exposure helps you control the brightness of your picture.
-
Take the right lighting. Bright light allows you to better see the details of your subject. Photographing in low light conditions allows you to capture the highlights and shadows of your image.
-
Take Pictures Of People. Photographing people can show others what you are most passionate about.
Learn more about taking better photos with your smartphone by reading our article 5 Tips to Improve Your Photography Skills.
Is photography a worthwhile career?
Photography is an art that allows you take pictures and share them. If you are willing to work hard, photography can be a great way for you to make money. There are many routes to becoming a professional photographer. As a hobby, you can take photos of friends and relatives. This will allow you to build confidence and improve your photography skills. Once you have mastered this stage, you can move on to paid assignments. The best photographers earn a living from their craft. Sometimes they travel with clients to capture images of people having fun at events like weddings or parties. However, most professionals prefer to shoot commercial projects such as product shots or advertisements.
It is important to know what kind of photography you like before you can become a professional photographer. Then practice, experiment, and try new techniques until you get comfortable with the process. Experimentation is your best tool, so don't expect overnight success.
As a beginner, you should aim to develop your technical skills first before focusing on creativity. Photography encompasses both technical and artistic aspects. The best way to achieve success in photography is to master the fundamentals of composition and use the right tools.
You should also consider whether you want to pursue a career in photography full-time or part-time. Many people combine their passion for photography and other jobs. One example is working at a local magazine or newspaper while taking on freelance assignments. Others decide to dedicate all their free time to photography. You have to put in the effort and be committed to any creative endeavor.
If you're serious about making a career in photography, you will need to invest a lot of time and effort. Consider carefully if you truly want to devote your time to such a career.
Statistics
- There are people out there who will pick at flaws they can only see in 100% crops of your photos. (wikihow.com)
- This article received 13 testimonials, and 100% of readers who voted found it helpful, earning it our reader-approved status. (wikihow.com)
- By March 2014, about 3 million were purchased monthly, about 30 percent of the peak sales total. (en.wikipedia.org)
- That's the easiest way to get blurry photos 100% of the time. (photographylife.com)
External Links
How To
How to capture pictures under low lighting conditions
Low-light photography is the art of taking photographs in dark or dimly lit environments. It requires special equipment. The main challenges are controlling exposure, white-balance, and sharpness. Two types of low-light photography exist: ambient or flash. Flash photography works best when there's enough light around. A flash is required if there isn’t enough light. If your subject is outdoors but indoors, you might not have enough light to take a great picture without a flash. Shooting at night in the moonlight hours is a good alternative to using a flash. You will get beautiful shadows and colors. Another option to consider is shooting during twilight. Twilight happens when the sun has set but there is still daylight.
Long exposures may be something you want to explore. Long exposures allow you to record images after the shutter has been open for several minutes. If the shutter is closed, the camera records only the light that falls onto the sensor. The light that falls onto the sensor during a long exposure continues to be recorded. Because the shutter was closed, no new light enters your lens. You will see very little movement as a result. You can ensure clear images by turning off automatic settings such as autofocus or autoexposure. Also, make sure that you adjust the ISO setting before you start shooting. An ISO setting of 200 gives you more flexibility to control how bright or dark your image looks. Finally, when you're ready to take the shot, press the shutter button quickly. This causes the shutter to close completely. Then, you should hold the shutter button until the last possible second. The shutter button should be held down to prevent more light from entering the camera. Wait a few seconds after you have taken the photo before you release the shutter button. This will allow the camera to process your image. While the image is processing, you can see your photos on your computer monitor. Once you are satisfied with the photos, save them onto your computer.