
For those new to photography, the term "aperture" may be confusing. Aperture definitions can vary depending upon the camera made and model. However, it's important to understand the difference. A larger aperture allows more light in and a lower aperture lets out less. Perturbations sizes also relate to pupil sizes. A larger aperture is closer to your pupil.
Off-stops
The names for Off-stops and On-stops in a camera come from the mathematics behind the exposure settings. Each one is a double of the amount light in a specific area. This can refer to ambient light in a room or additional light from flashes. The exposure time will be longer the greater the number of off-stops that a camera can achieve. The same concept applies to the ISO settings on a camera.
The two most popular exposure settings, aside from ISO and shutter speed are f stop and aperture. The f-stop is the number of light entering the camera lens. This affects depth of field. Off-stops can be represented as numbers and range from f/1.2 up to f/22. The f-stops of most cameras can be adjusted in 1/3-stop increments.
Diaphragm
The diaphragm of a camera controls the light coming into it. Its size and shape will determine the diameter of the hole that allows light into the camera. A diaphragm may be round or pinhole-shaped. A diaphragm can also be a rotatable metallic plate with a number of different-sized holes.
The diaphragm's design has a major impact on the depth-offield. A smaller aperture will decrease the circle of confusion and make the image appear sharper. A bigger aperture will allow for brighter out-offocus areas. The best way to make your photos more effective is to learn more about the diaphragm. But the best technique is to experiment until you find what works best for you.
Off-stop
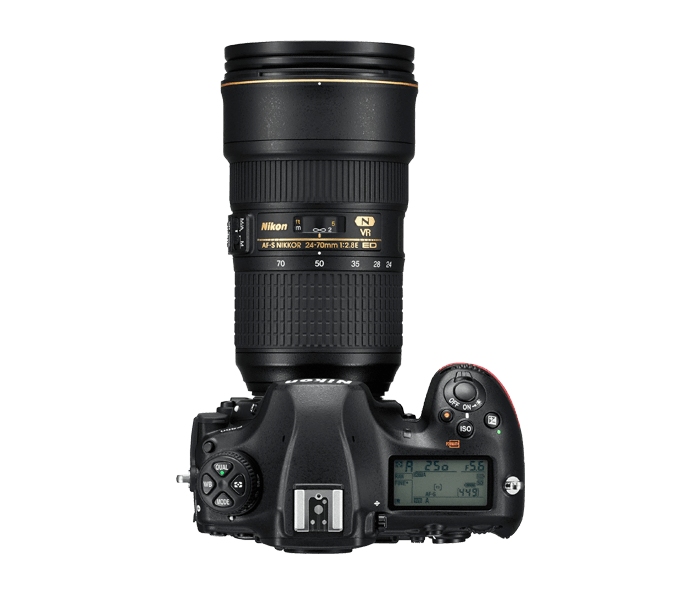
These steps will allow you to adjust the aperture on your camera. The number of fstops on a camera's LCD screen should be visible or displayed in a dialog box near the top. To change the aperture press the circular wheel and turn it either up or down to adjust it. You can lower the aperture to give your photos a dynamic look. High f-stops will also give your photograph sharpness and detail.
A change in the f stop on your camera can give you a greater or lesser depth of focus. This will allow your subject to be more clearly seen while your background will not appear too busy. This will also impact your camera's shutter speed, depth of field, and shutter speed. There are occasions when you will need to compensate for the loss of light. The right aperture setting will allow you to take pictures in all situations.
FAQ
What equipment is necessary to begin digital photography
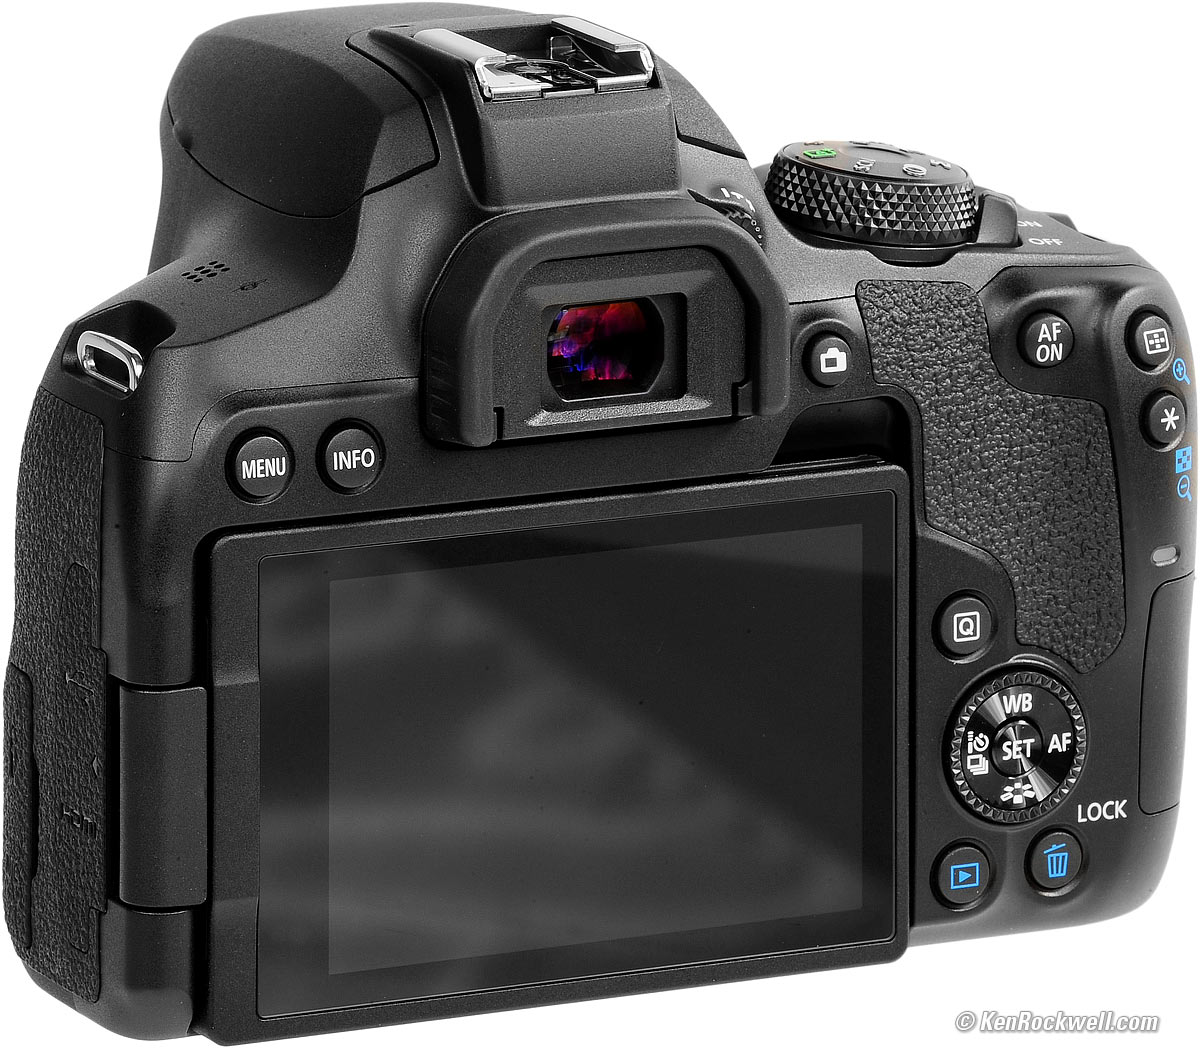
The first thing you should consider when starting out in digital photography is what type of camera you want to use. There are many options: DSLRs (digital Single Lens Reflex Cameras), point-and–shoot compact cameras or camcorders. Each one has its advantages and disadvantages. DSLR cameras can produce high-quality images, but they are usually heavier and more bulky than other types. Point-and shoot cameras are lighter and smaller than other types of cameras and can often be set up automatically for certain situations. Camcorders offer excellent video recording capabilities, and may also have still photo shooting modes. Smartphones can be small and lightweight and are easy to transport.
Once you've decided on the type of camera you'd like to buy, you will need to decide whether you would rather buy a used or new one. You can find affordable used cameras, particularly if you bought them in the last few years. Because of the large amount of money that manufacturers spend on new technology, older models are more expensive.
Next, you need to purchase lenses. Lenses are crucial in determining the quality and appearance of your photos. These lenses allow you control the focal length of your lens, which allows you to zoom into the scene and not lose focus. Some lenses can be equipped with flash units that are built-in, while others may require external flash units. A wide range of lenses is available from various brands, each offering unique characteristics.
You will also need memory cards. Memory cards can store pictures that were taken with your digital camera. Your card's size will determine how many pictures it can store. If you plan to shoot lots of pictures, you will need multiple memory cards.
Which camera is best for beginners?
The best camera for beginners will depend on your budget, needs and level of skill.
If you are looking to save money, then a point and shoot digital camera might be the best option. These cameras are not very versatile but offer excellent quality.
Digital Single Lens Reflex (DSLR) cameras can be equipped with interchangeable lenses that enable you to shoot different types. These lenses are usually more expensive than point-and shoots, but offer greater flexibility.
A beginner's kit for beginners is a good place to start. All you need is included in this package: a camera body and lens, flash, memory card, tripod and flash.
Don't forget to buy extra batteries too!
What is a good camera bag?
Camera bags are essential for protecting your gear during travel. Here are some things to remember when buying a bag.
-
Sizing: A large bag will hold your camera and other accessories. Don't purchase more than you are going to use.
-
Durability: You should look for bags made from durable materials, such as canvas, nylon, leather, and polyester. Avoid fabric and plastic bags.
-
Protection: Make sure your bag protects against dust, dirt and moisture.
-
Organization: To make it easier to find what you need, organize your gear according to type. So, you can place your lenses in one box, your memory cards in another and your battery charger in a third.
-
Comfort: Keep your hands free when shooting by using a shoulder strap instead of a handbag. Also, look for a comfortable design with padded straps.
-
Price: You can shop around to find a great price. Many brands offer their products at discounted prices. This can be a huge advantage.
-
Warranty: Make sure to ask if they offer a warranty for their products. This will ensure that you are able to contact the right person if something happens to your bag.
Statistics
- The second easiest way to get blurry photos 100% of the time is to use a cheap filter on the front of your lens. (photographylife.com)
- That's the easiest way to get blurry photos 100% of the time. (photographylife.com)
- Get 40% off Adobe Creative Cloud(opens in new tab) (creativebloq.com)
- While I cannot prove that all of those spots were not sensor dust, the photo was taken during a heavy snowstorm…so I guess that 99.8% of the spots are snowflakes. (bhphotovideo.com)
External Links
How To
How to take photos in low light conditions
Low-light photography can be defined as taking photos in dimly lit and dark environments. It requires special equipment. The key challenges are in controlling exposure, white balanced, and sharpness. There are two types of low light photography: flash and ambient. Flash photography works best when there's enough light around. You will need a flash if you don't have enough natural light. A flash might be necessary if you are photographing a subject indoors and outside. Try shooting at night, during the moonlit hours, if you don't need a flash. You will get beautiful shadows and colors. Another option is taking photos at twilight. Twilight is the time when the sun has set and there's still daylight.
Also, you might want to try long exposures. Long exposures allow you to record images after the shutter has been open for several minutes. When the shutter remains closed, the camera records only light that falls on the sensor. This light continues to fall onto a photo sensor throughout a prolonged exposure. The shutter is still closed so no light can enter the lens. Therefore, there is very little movement. To ensure you're getting a clear image, turn off any automatic settings like autofocus and auto exposure. Also, make sure that you adjust the ISO setting before you start shooting. An ISO setting of 200 allows you to adjust how bright or dark the image looks. Finally, when you're ready to take the shot, press the shutter button quickly. This causes the shutter to close completely. You should then hold down the shutter button for as long as possible. You will prevent additional light from entering your camera by keeping the shutter button down. Wait a few seconds after you have taken the photo before you release the shutter button. This allows your camera to process the picture. While waiting, you can check out your photos on your computer screen. Once you are satisfied, save them on your computer.